


Your cart is currently empty.
Hot sale 12% off
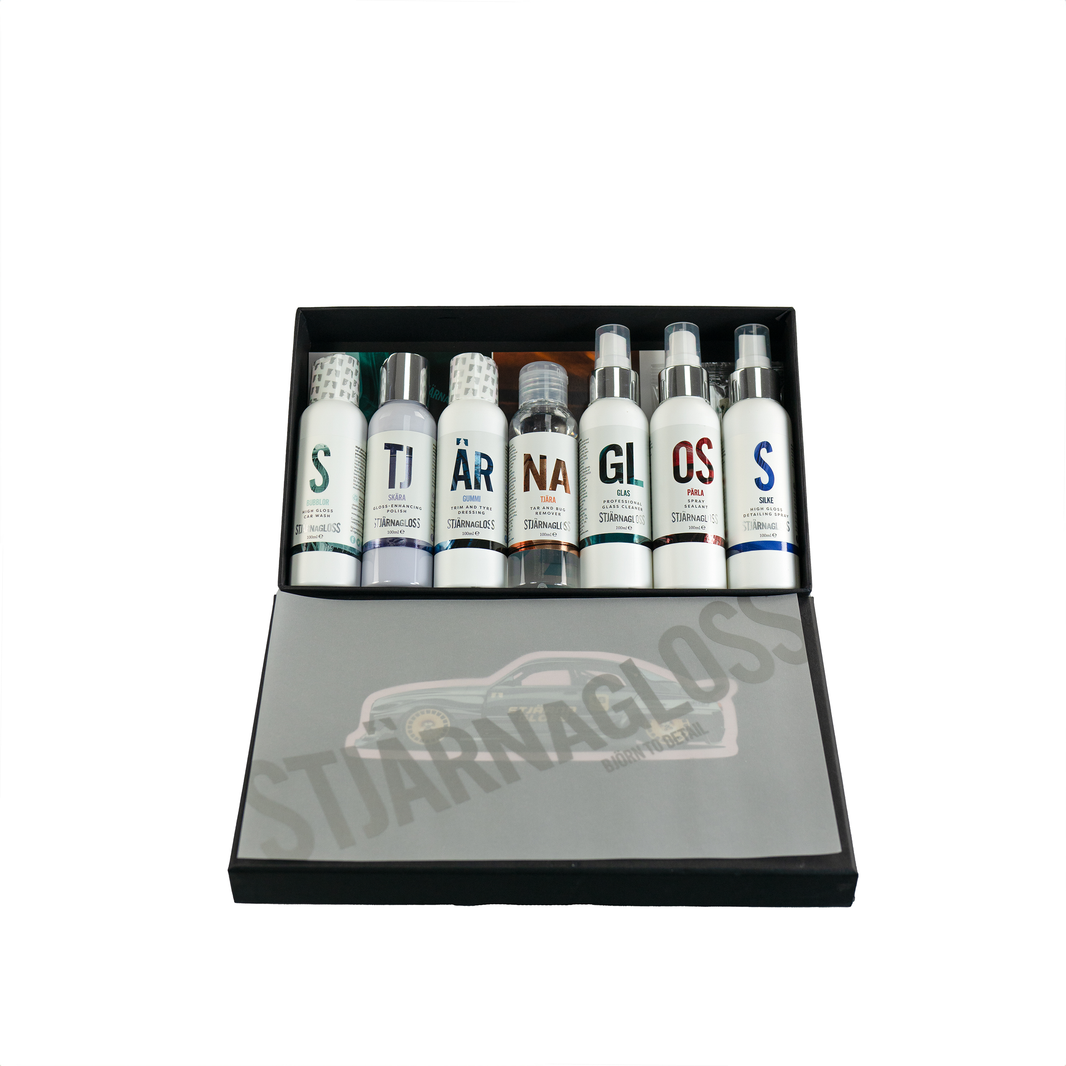
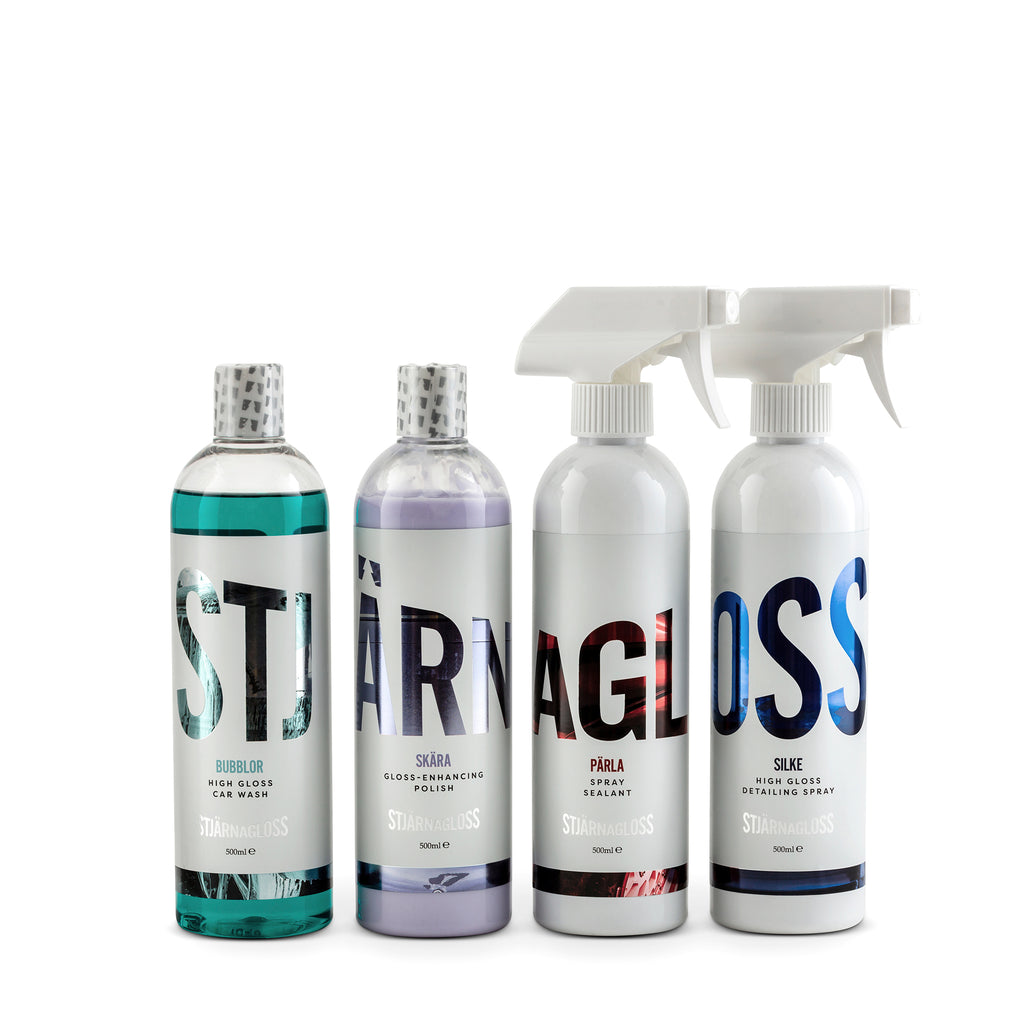
Core Four Detailing Kit - Shampoo, Polish, Sealant and Detailing Spray
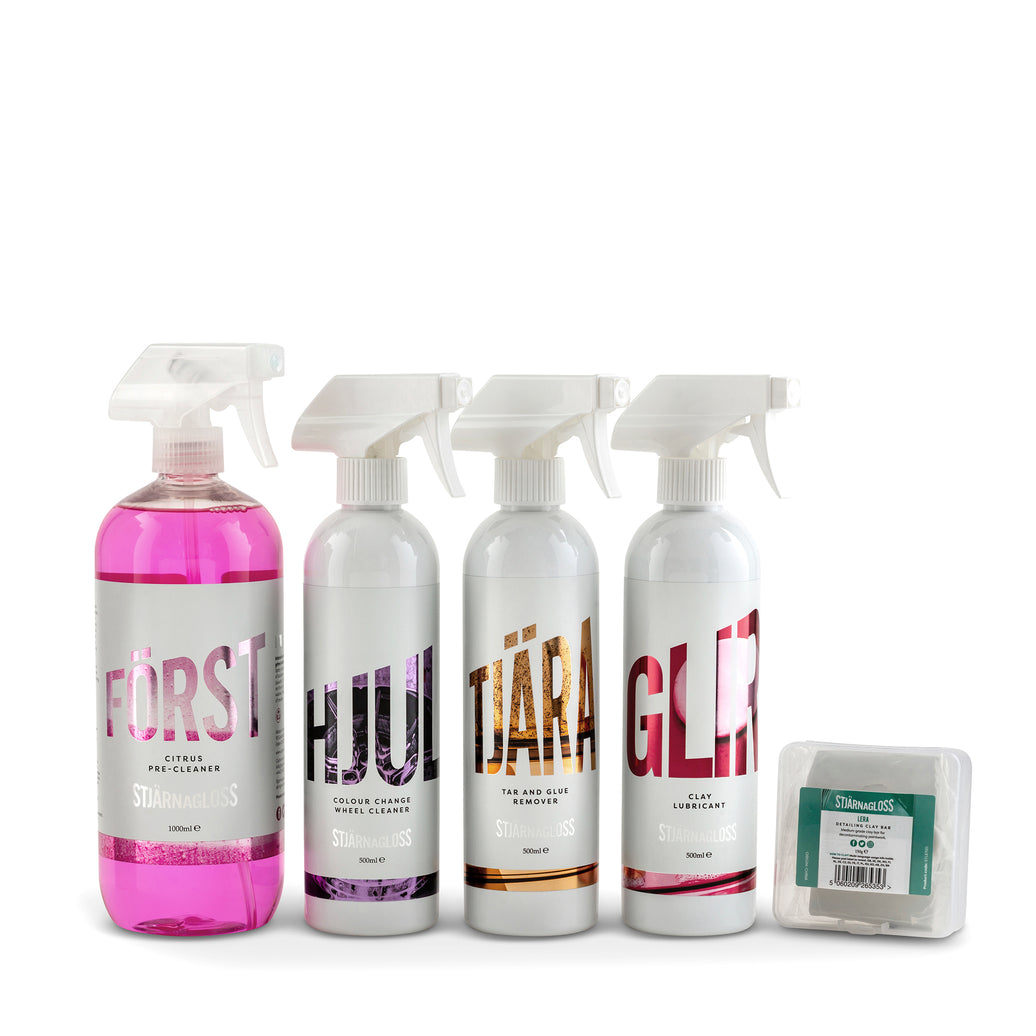
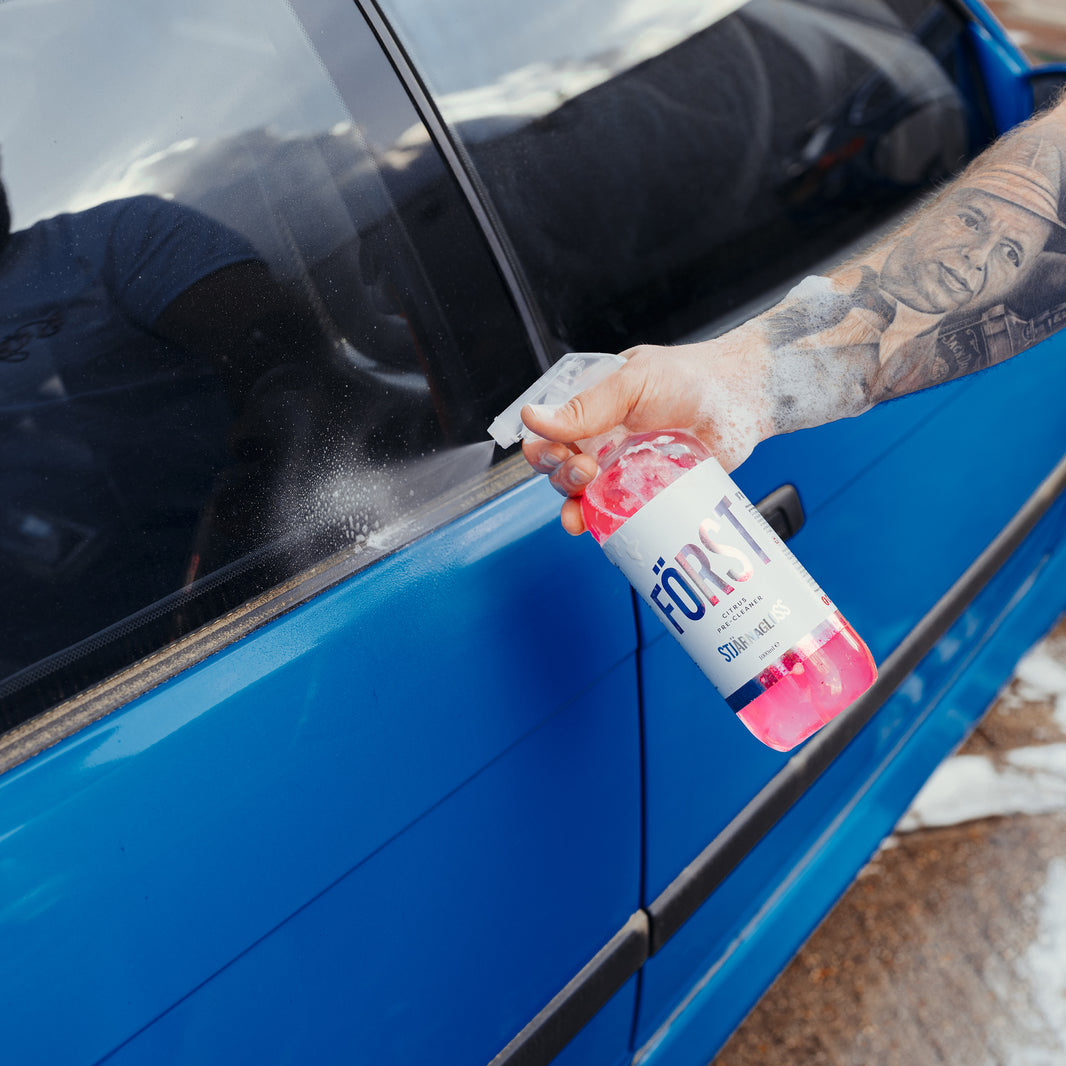
Hot sale 11% off
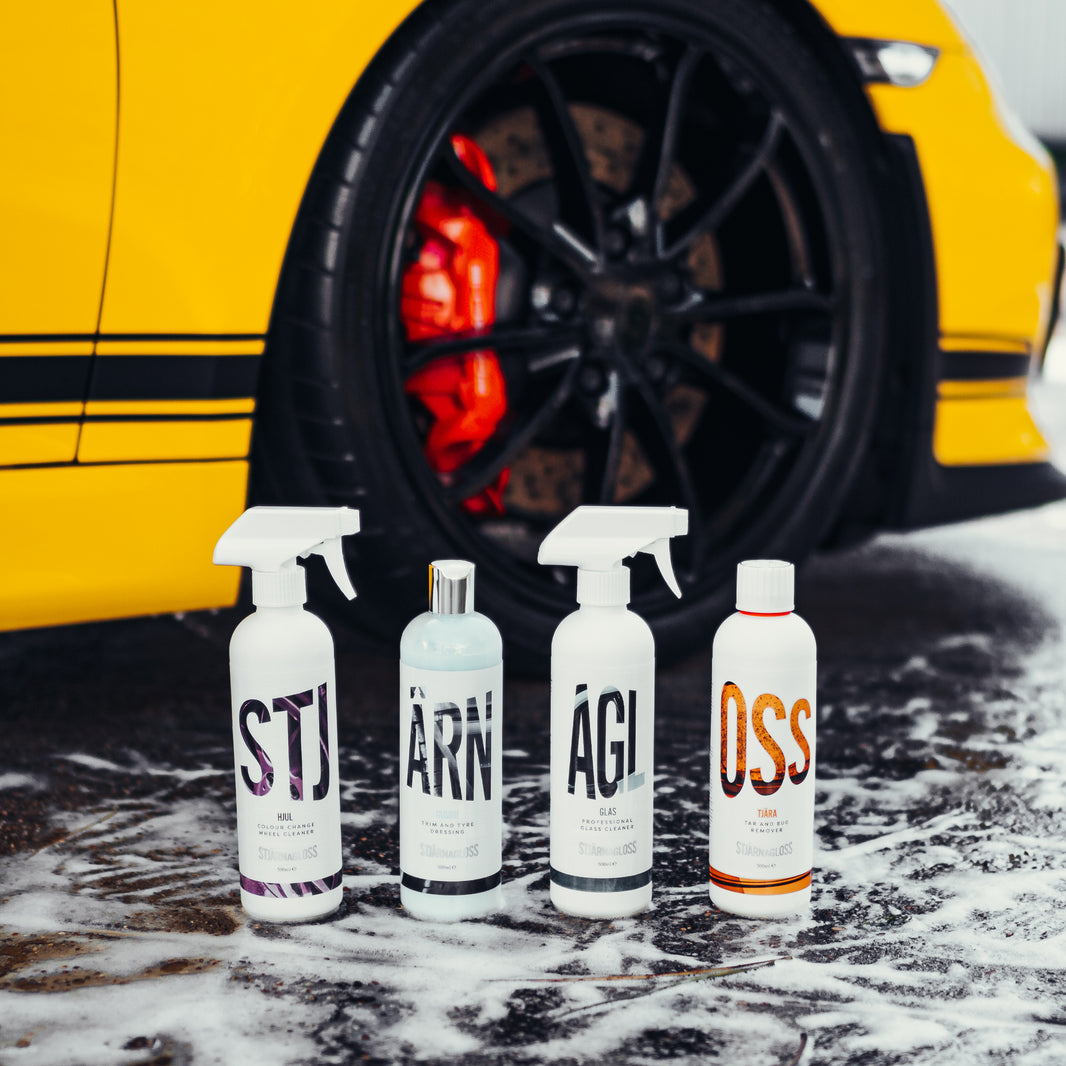
Decon Car Detailing Kit - TFR, Tar Remover, Wheel Cleaner, and Clay Kit